


")


Readers will recall our May 2015 test of Ruger’s new SR1911 CMD-A, a Grade A lightweight Commander-style 45 auto. To sum up that test, we consider the new Ruger lightweight Commander-type auto to be one of the finest self-defense handguns available today. The gun has just what it needs and no extra nonsense. It has excellent sights. It does not have a firing-pin block, nor a full-length guide rod, which some of us despise. That means you can take the gun apart easily with no tools. The slim and attractive wood grips seem to be an aid to pointing the gun, and also contribute to concealment. We found the two-tone finish appealing, and the factory dehorning was mighty good. The original trigger pull was very much acceptable, as was the accuracy. The integral plunger housing cannot come loose. Finally, those with fat hands will like the full-size grip of the LW Ruger better than the shorter one on guns like the Colt CCO. It makes for a better grip, and speed reloading is easier.
But even good products like the CMD-A can be improved, so Senior Technical Editor Ray Ordorica bought it for himself with an eye toward making it resemble his Colt CCO. He slicked the Ruger up, included beveling the front of the frame, eliminating all the sharp edges around the ejection port, knocking the sharp bottom off the mainspring housing, removing metal from under the trigger guard to get the hand higher, checkering the front strap, and rounding the sharp edges at the sides of the grip safety. The steel parts were reblued as needed with Formula 44/40 Instant Gun Blue, and the aluminum parts were reblackened with Aluminum Black, both available from Brownells. And as the previous photo shows, he engraved the gun.
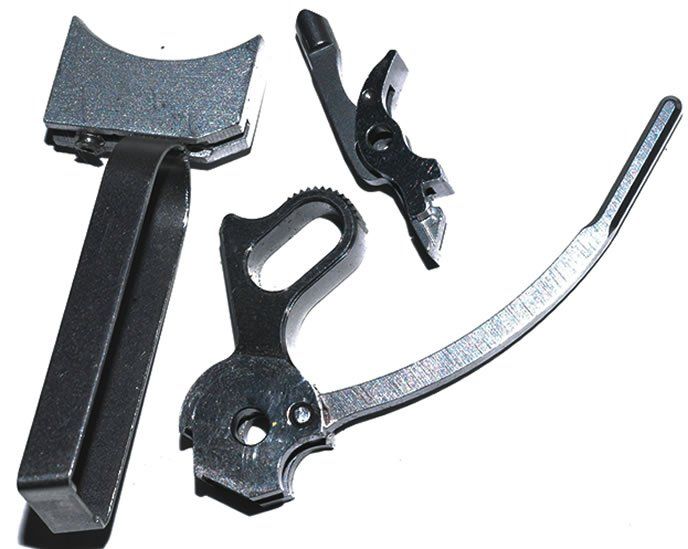
One of the main performance goals was to improve the Ruger’s already good trigger pull, so he contacted master gunsmith Ned Christiansen at Michiguns and asked about getting a trigger job. Instead, Christiansen recommended we try an “ignition set” offered by John Harrison (HarrisonCustom.com). Harrison offers a complete line of gunsmithing services along with a not-quite-drop-in kit called the Harrison Custom HD-120-TR Extreme Service Ignition Package, Strut, and Trigger, $186. We chose the carbon-steel version in white, though the parts are also available with a black coating or of stainless-steel construction. At Harrison’s suggestion, we opted for the True Radius sear, which has its contacting surface ground on an arc centered on the pivot pin. He also sent along a hammer strut and a replacement trigger a bit shorter than the Ruger’s. Our task was to fit all the parts and see what dropped in and what did not, and of course evaluate the products. Here is what we found.
Harrison Custom HD-120-TR Extreme Service Ignition Package, Strut, and Trigger, $186
For this project, Harrison sent a medium-length HD 102N trigger ($27), HD-125 hammer strut and pin ($19), and the HD-120-TR disconnector, sear, and hammer package ($140), all in our choice of carbon steel. To accomplish the fitting of parts such as these at home, you need to be able to disassemble your 1911-style 45 auto down to its last component. With the gun stripped, we tried to slide the new trigger into the Ruger’s frame. As expected, it didn’t fit. The trigger, like most, is made tall so a qualified gunsmith can fit it so it does not have any slop or lost motion within the frame.
To fit the trigger, we used a trick that most gunsmiths know, which is to clamp the trigger in a small hardened vise with just a fraction of the trigger protruding, and then file it flush, which keeps the end of the filed part square. Our vise is a vintage Brown and Sharpe No. 752, currently listed as No. 599-752-3, which lists for $178. We measured the old trigger to find out what the dimensions for the new one needed to be, and proceeded slowly. With no trouble at all we fitted the new trigger.
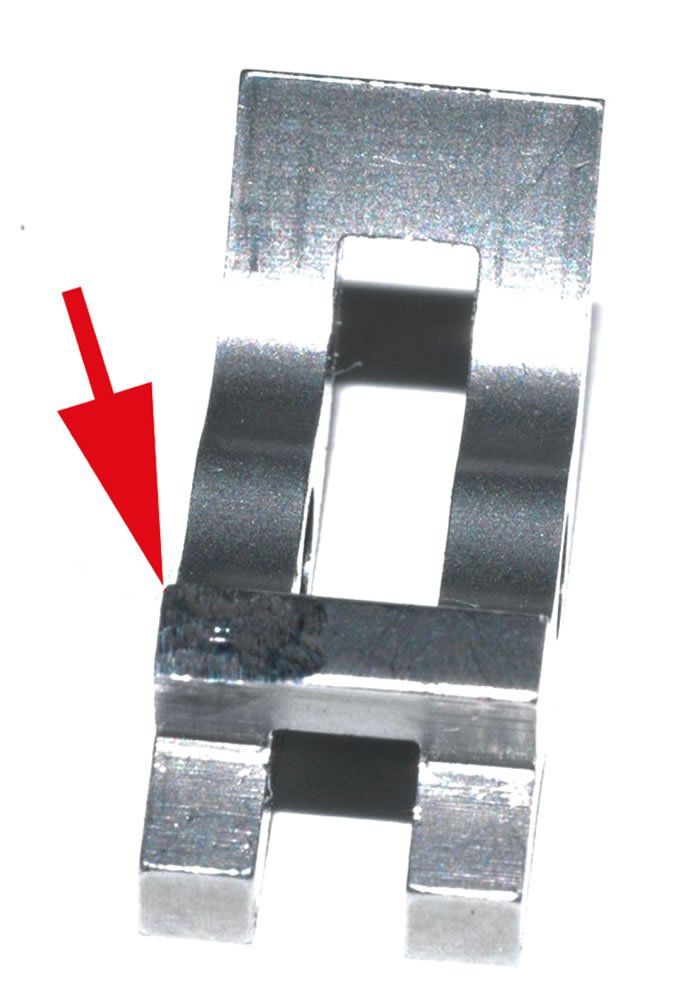
A small Allen screw protruding out the back of the trigger was the over-travel stop, which might need adjusting. Some gunsmiths take that screw out of self-defense guns because if it’s set too tightly, or moves, the trigger can become inoperative. With it gone, the trigger can move rearward freely, but the gun can also experience double shots. Harrison locks the screw in place so you have to adjust it by grinding or filing. We ground it a bit and got it just right. After fitting the trigger and its stop, we found the safety would not work properly. We needed to remove a small amount of steel off the back of the left side of the sear. Once again we put our Dremel tool to work and it solved the problem. In short, these parts were clearly not drop-in items.
Once we had all the parts fitted, we tried the trigger. To our joy it was one of the finest trigger breaks we’ve experienced. It broke incredibly cleanly. However, the pull was 4.9 pounds. It had been 5.2 with the original Ruger trigger. In short, spending $140 gave us an historically clean-breaking pull of very little less weight than we originally had. But by tweaking the three-leaf sear spring, we were able to reduce the pull to 4.25 pounds. That same tweak would have also reduced the pull of the original Ruger parts, but the quality of the True Radius trigger pull was so good we decided to keep it in the gun. Also, the new hammer has sharp serrations, which make it easier to thumb-cock.
Our Team Said: If you don’t know what you’re doing, don’t attempt installation of the Harrison Custom HD-120-TR Extreme Service Ignition Package, Strut, and Trigger, $186. You will only ruin an already good gun, which the Ruger surely is. But if you have an otherwise excellent 1911 auto with a gritty or heavy trigger, we suggest you ask your gunsmith to install a Harrison Custom ignition set.
Written and photographed by Ray Ordorica.


